I watched this you tube video the other day about 5 edits made to every photo. It was quite informative. I love to learn how others are processing their photos. It made me think of the 5 things I do to every photo I process. I thought I’d share them here with you today (okay so I’ve shared six)! Maybe we have common editing styles? If not, maybe you can learn from me and me from you? What do you say?
I’d love to hear your editing recipes! Or maybe the one thing you can’t live without doing to every photo?
My editing process below is based on images of people.
1. Exposure tweak (I usually increase exposure)
It’s funny, but no matter how great I think my exposure is IN camera, once I bring them up on my computer they look a little darker. I rather have them underexposed as this is easy to correct in CS6 or LR4. I try not to over lighten/brighten when I process to avoid losing detail.
2. Contrast (I usually boost it up a little to give it a little pop)
I’ve been loving the black & white slider in LR4 which will give you a similar popping effect.
3. Color/white balance (depending on the image I may add blues to cool off or yellows to lighten)
I love the little eye dropper tool. When I click on a neutral part of my image, it almost always adds warmth, then I just adjust the slider to my liking. The eye dropper tool usually adds to much warmth for my taste.
4. Spot healing (for blemishes or uneven skin tone)
I only use this on spots that would not normally be on the face (like a scrape, blemish, dirt, stray hairs, etc. NOT on things like moles and birthmarks, etc.)
5. Dodge/Burn (for eye brightening)
I did a little tutorial on this that you can find HERE if you are interested. I try to be subtle with my eye whitening, iris brightening and pupil darkening edits. It’s important to me that the eyes still blend in with the rest of the picture!
6. Selective sharpening (for lines on the face like eye lids, nose, and lips – NOT for under eye lines/circles, laugh lines, or other items you wouldn’t normally want attention drawn to)
Out of convenience I use an action called Cuts like a Knife that I purchased from Paint the Moon. You can, however, use the sharpening tool/mask in LR4 or the smart sharpen tool/mask in CS6!
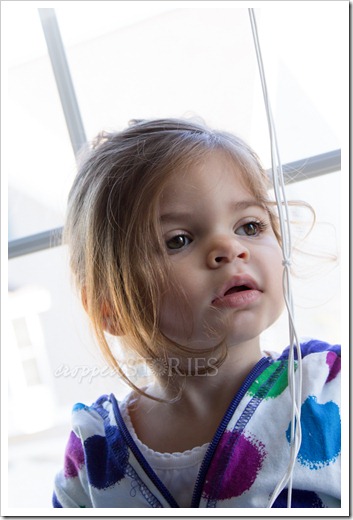
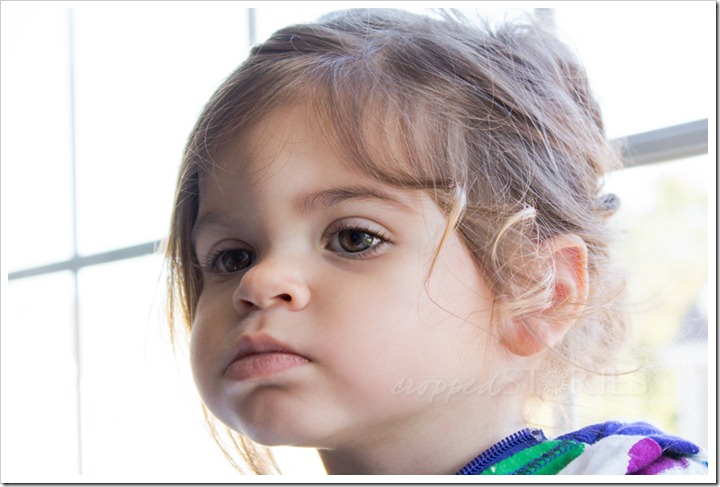
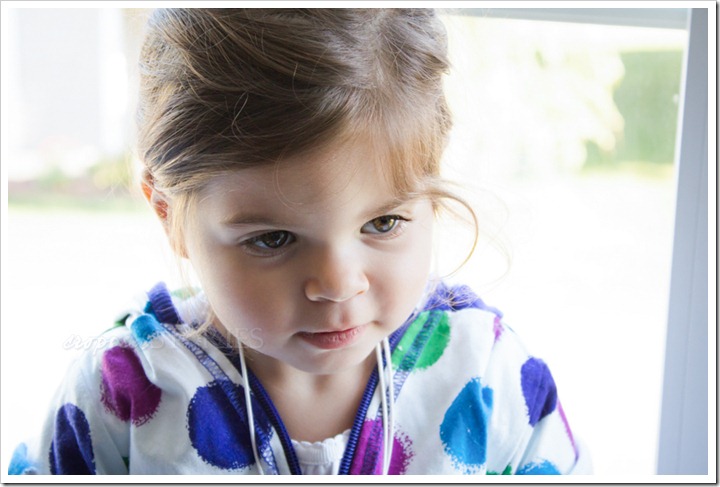
Here are my results.
The only other things applied to these photos that are not listed above was noise reduction and lightening of the shadows. My ISO was as high as 1600/3200 in some of these shots! I was shooting indoors and later in the day (although it doesn’t look it by the window light behind her). The light was hitting her on the side which I happen to love, but it can also create harsh shadows which in this case just happened to be hiding a good portion of her face.
I didn’t include my originals for the rest of these images.
Linking up the image below to…

A little story behind the next image.
Livi: “Okay mom, NOW I’m mad”! “Are you ever going to stop taking pictures of me”?
Mom: “No way Livi, you are even cuter with a mad face on”!
(okay, so this conversation didn’t actually take place but, I’m sure that’s what she was thinkin’)!
I’m also linking up this image to the following photo challenges.







This is a great post!! Thanks for posting!
ReplyDelete♥ Kyna
Oh I just adore her little pouty lips - that is the best! I Have to agree with you on your 6 things- but I think everyone has their own recipe they use no doubt! Once I pull pics into lightroom, I always sharpen, slide the black up a bit, white balance usually, exposure &/or brightness, and fill light most times too! I know what you mean about being underexposed, I make that mistak often lol - the picture in the camera always seems ok but then I look at it on the computer and its usually a bit dark for me. Knowing this, I am trying to adjust my settings as I take the photo and it's been better but still dark sometimes. I also learned from my photo mentor how to pay attention to the histogram - that tends to help me know whether or not I got it right.
ReplyDeleteI love the lighting in your shots - perfect - and your edits are very nice!! :)
What a beautiful child! These pictures are great, you have an easy subject. :)
ReplyDeleteThose are beautiful photos!! You certainly know what your doing :)) And every week she looks just a little bit older...
ReplyDeleteThanks for linking up with my NO RULES Weekend Blog Party :)
Paula
lifeasweknowitbypaula.blogspot.com
Good list of edits. Mine are very different from yours. Here's mine. Fix blemishes with spot healing tool. Clone any lose hairs, also use this for blemishes...Adjust curves, adjust hues/saturation, Brush tool with overlay and low opacity for catch lights in eyes, and possibly contrast if curves didn't do it. I rarely adjust white balance since I set my own in camera, and I use a neat trick for getting perfect exposure in camera too, so rarely adjust exposure. Although, it takes me longer to snap pics this way. I liked your list and want to try that action. I love MCP actions and Addy Lane. I sometimes add these after I do those edits I said. I love the use of light in these pics. She's so cute!
ReplyDeleteGood list. I love dodge & burn. So many uses for that.
ReplyDelete